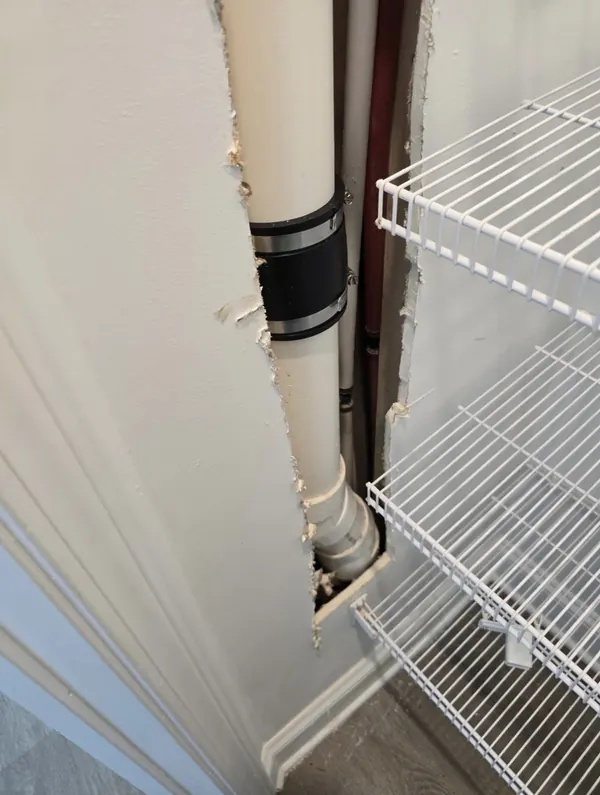
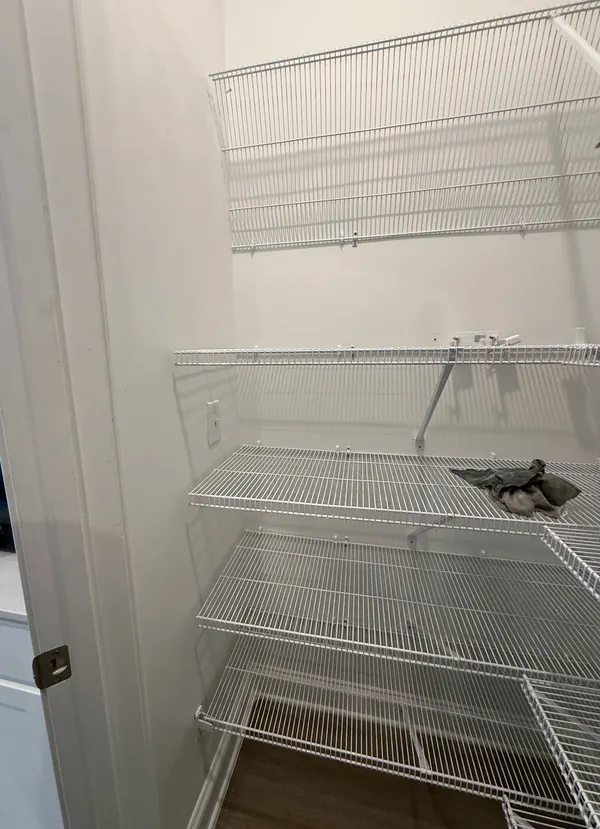
Pantry Wall Repair After a Plumbing Leak
The wall was cut open to fix a drain pipe. We patched, finished and paint-matched it, $350 total.
Drywall repair · Charlotte & 20 miles around
Holes, cracks, nail pops and water-damaged ceilings fixed by one insured local crew. Small to medium patches are usually done the same day, painting included.
4.9 on Google (14 reviews)Texting is the fastest way to a quote. Prefer a form? Request a free quote ↓
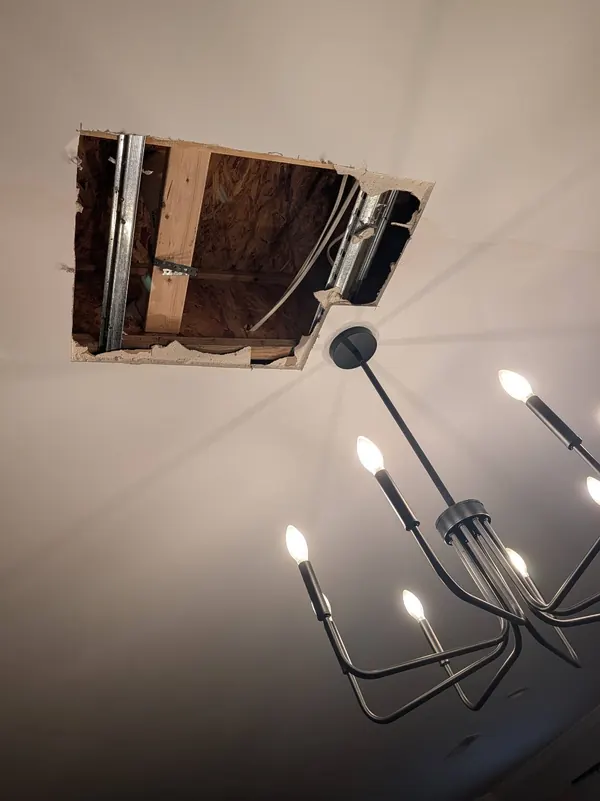
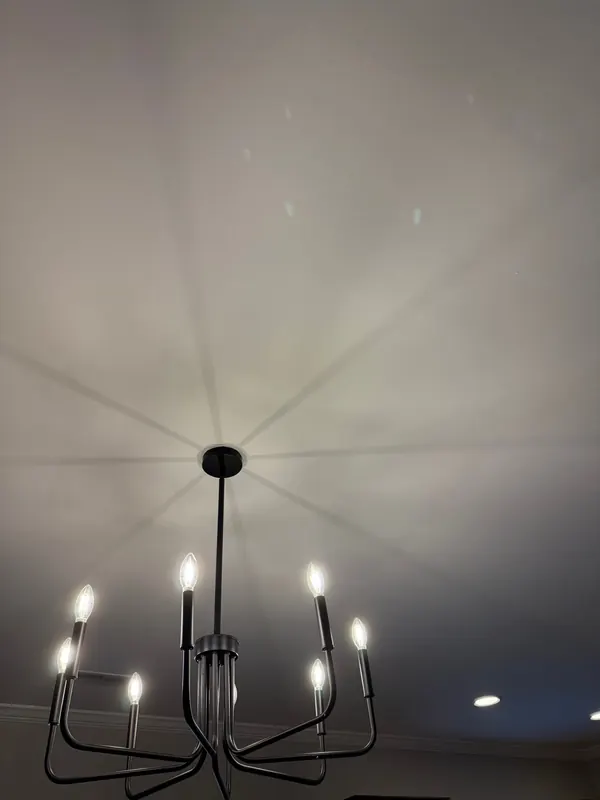
Before and after: Charlotte ceiling repaired after a toilet leak · Charlotte, NC
Starting prices from our Charlotte jobs. That's the lowest a job runs; size, texture and paint needed can bring it up.
Starting at $300
Labor, materials and paint match included
Starting at $600 each
Labor, materials and paint match included
Free quote
Send a photo and we'll give you a price range
Final price depends on size, texture and how much painting is needed to blend the repair. We confirm it with you before we start.
Fastest: text a photo to (704) 989-1087. Or fill this out and we'll get back to you.
Our work, step by step
A finished wall starts with the work behind the patch. Follow this real Elite Carolina Builders repair—from protecting the room and securing replacement drywall to taping, finishing, primer and paint.
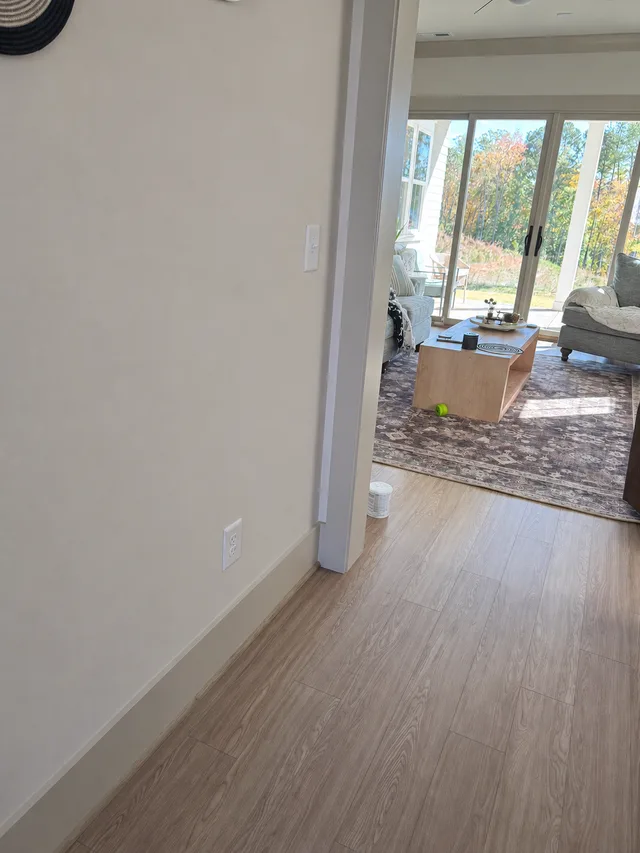
The original was taken while the paint was still drying. The displayed version was retouched to reduce the temporary drying sheen. It is an illustration of a dry appearance, not proof of the actual fully dried finish or a drying-time guarantee. View the original painted-wall photo.
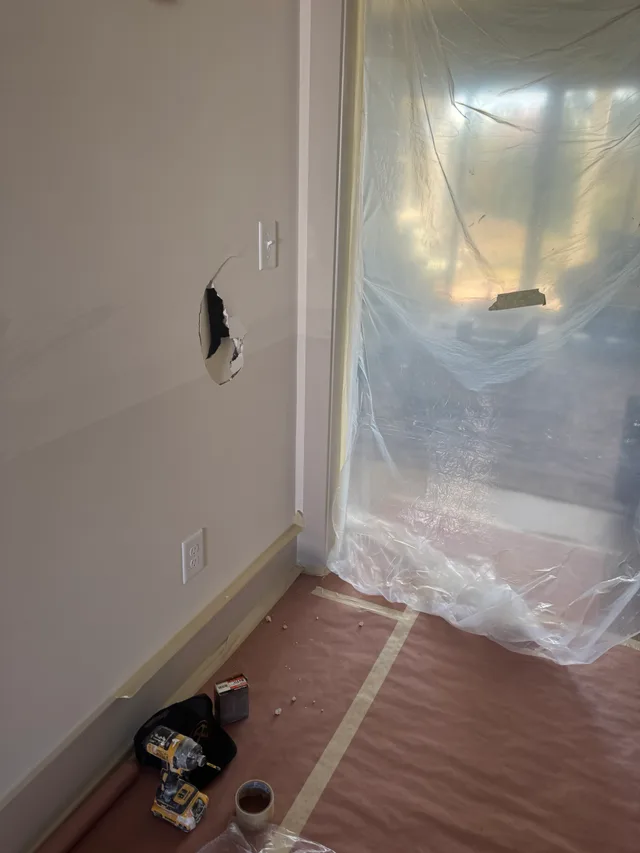
Before opening the wall, we covered the floor, masked the baseboard and screened off the doorway with plastic. The first step is protecting the space around the repair.
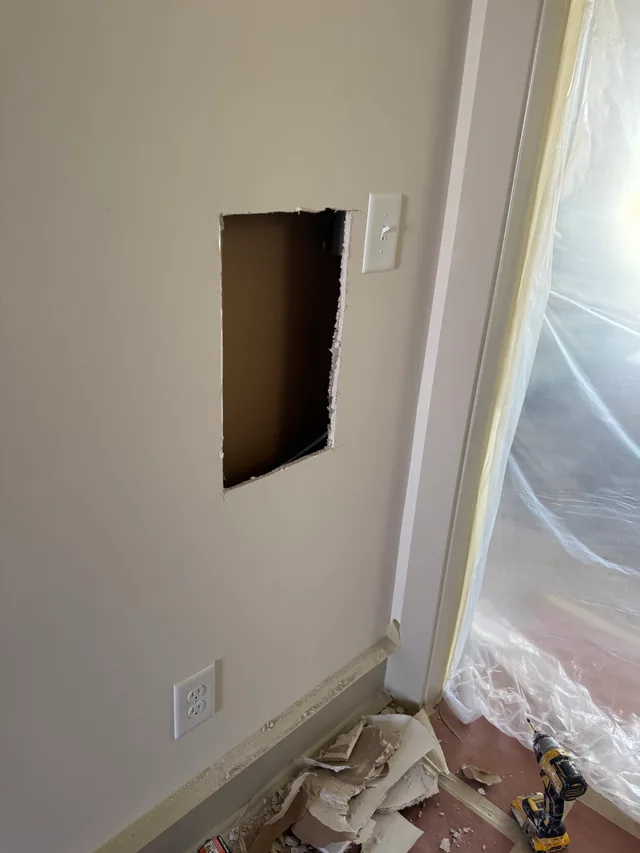
We removed the broken section and made a defined opening for the replacement drywall. This gave us edges to work from instead of trying to cover the damaged hole.
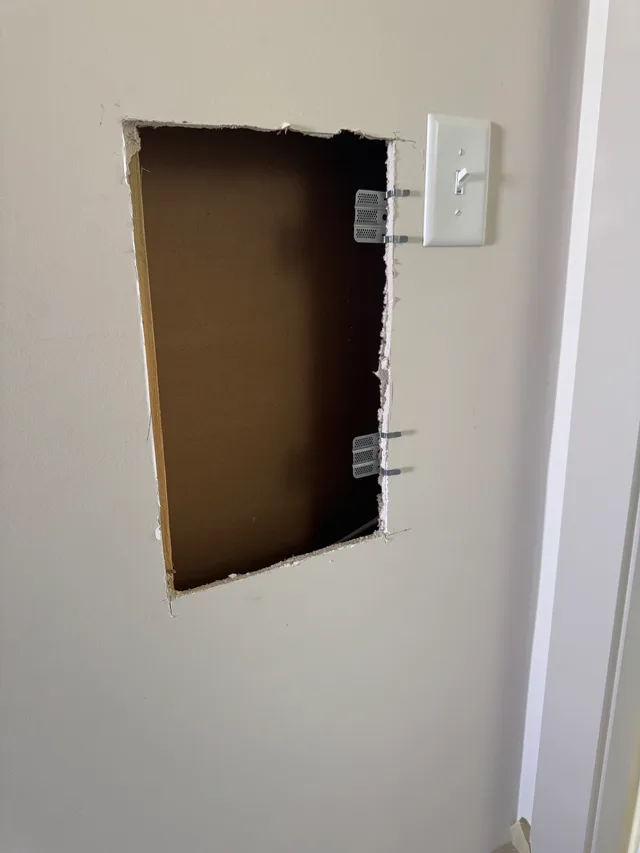
We installed metal drywall repair clips to support the new board at the opening. That backing gives the replacement piece a place to fasten.
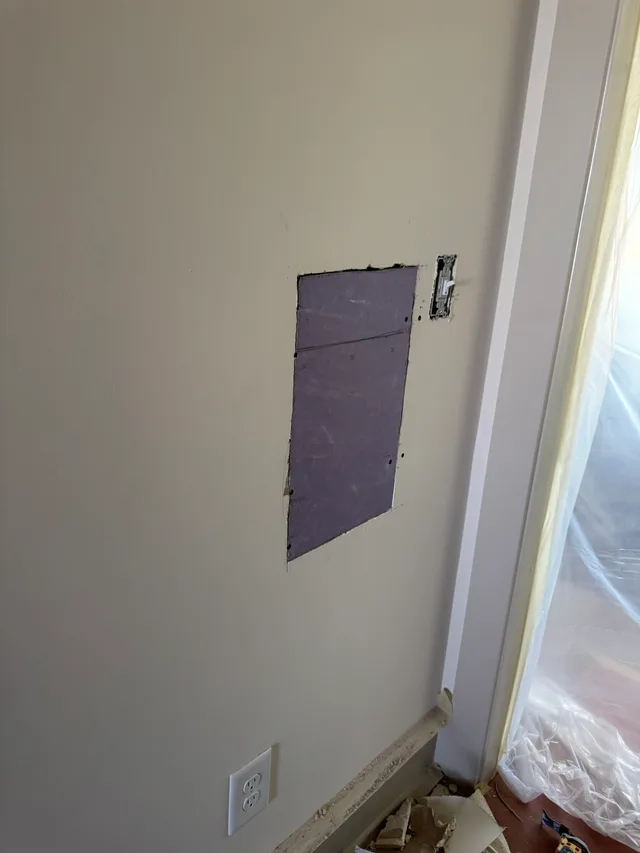
We cut and fastened replacement drywall into the opening. The purple board was a piece left from a previous job—not a special requirement for every patch. Replacement board should match the wall’s thickness and the requirements of the assembly.
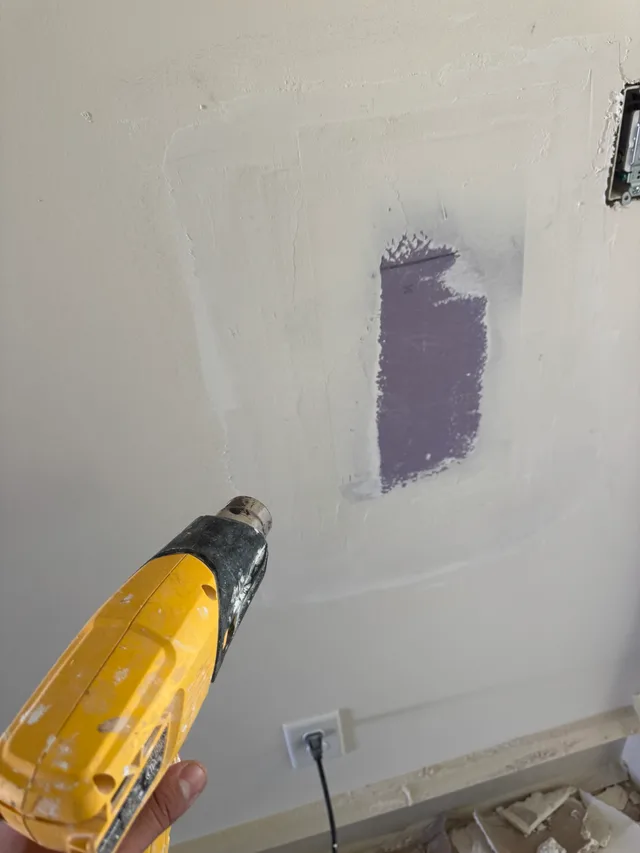
We taped the joints and applied the first coat of joint compound. For this repair, we used five-minute setting-type compound, often called hot mud. At this stage, part of the board is still visible; this is an in-progress repair, not the finished surface.
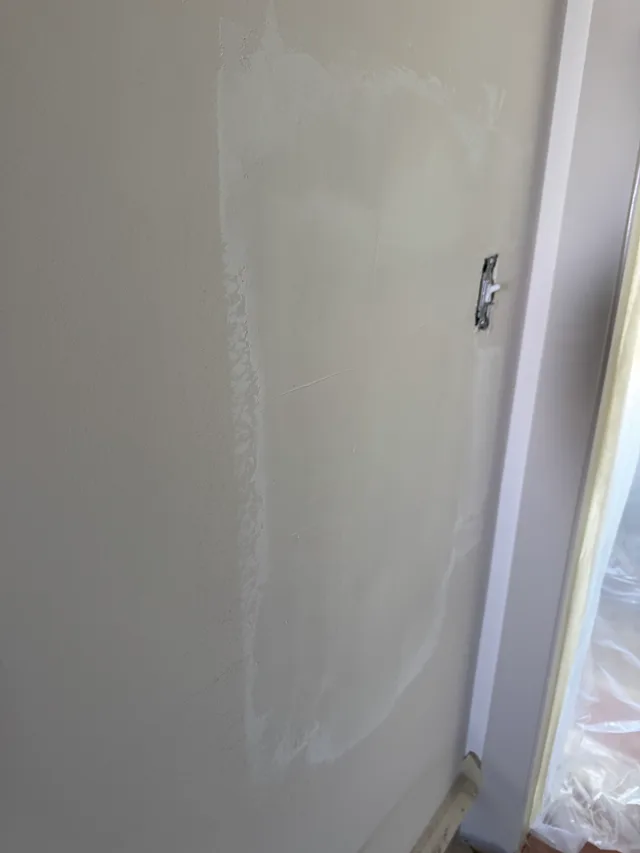
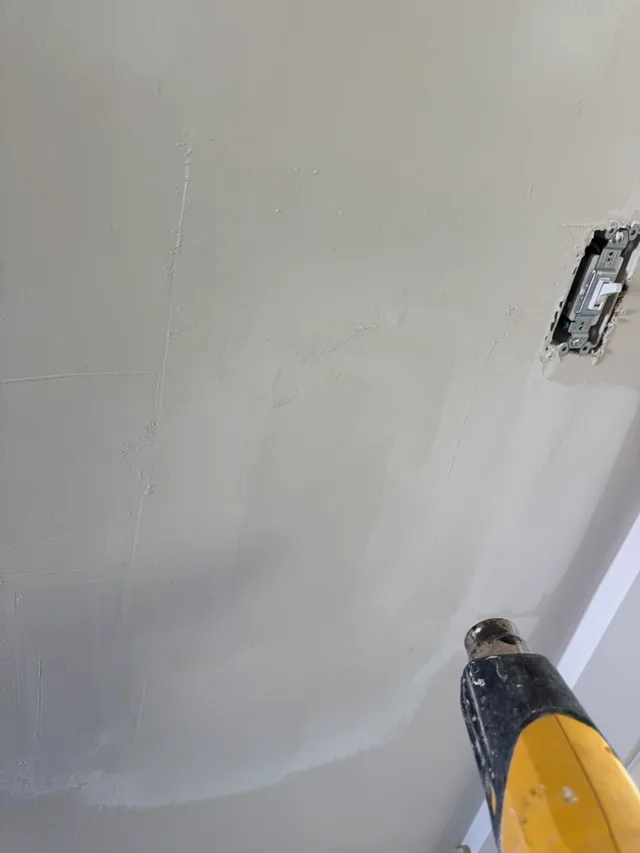
We applied a wider coat of compound and feathered it into the surrounding wall. The photos document the between-coat stage—not instructions to force-dry compound with direct heat. Drying method and timing must follow the compound manufacturer’s directions.
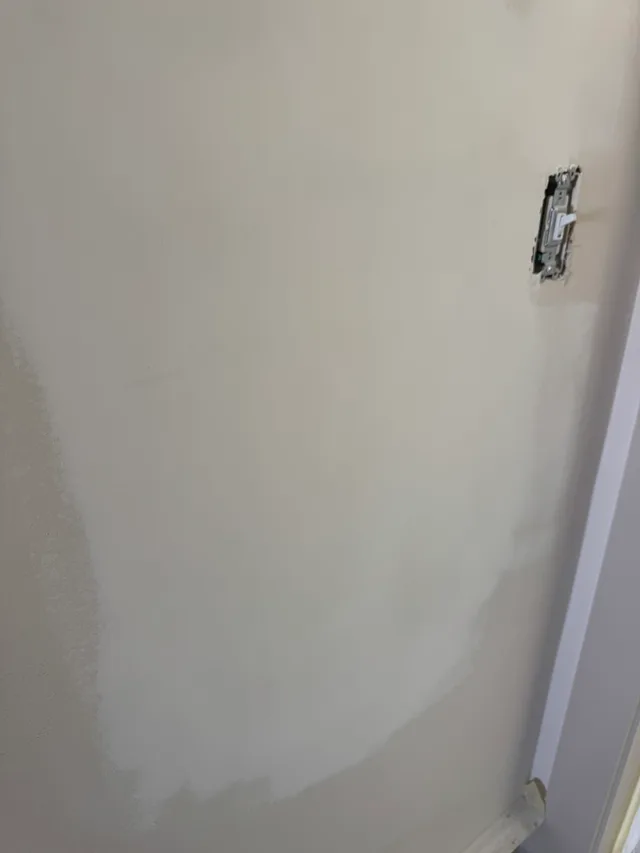
After the compound stage, we sanded the repair to smooth the transition into the existing wall. This stage comes before primer and paint.
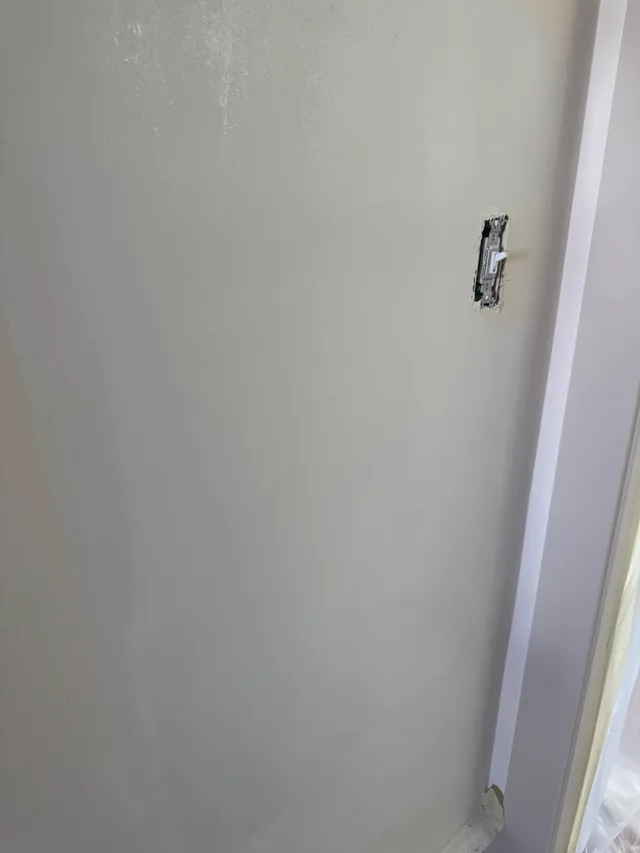
We primed the repaired area and then painted it, as shown in the painted view above. Primer is a separate step from the final paint coat. The original final photo was taken while the paint was still drying.
Five-minute compound does not mean paint-ready in five minutes. Setting and drying are different. Board type and thickness, compound, coat thickness, temperature and humidity affect the process. This is a walkthrough of one job—not a promise that every repair can be fully dried and painted in two hours. Product drying and recoat directions still apply.
Have a wall patch that needs repair and paint?
Text a wide photo and a close-up, or request a free estimate. We can start with pictures and explain if an in-person look is needed.
Real before-and-after photos from our own crew. No stock photos.
The wall was cut open to fix a drain pipe. We patched, finished and paint-matched it, $350 total.
A toilet leak upstairs ruined part of the dining room ceiling. We replaced the drywall, finished it smooth and blended it in with a color-matched paint.
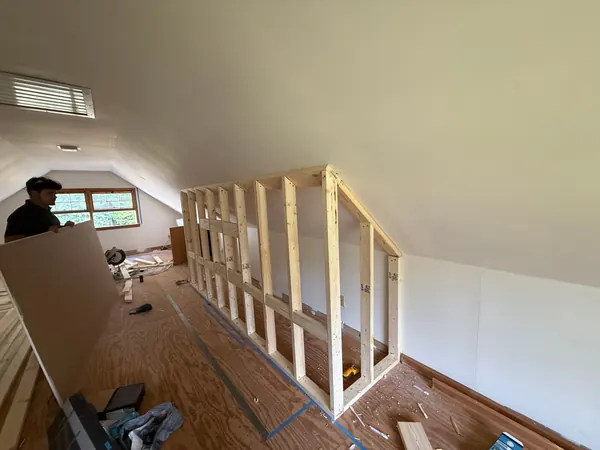
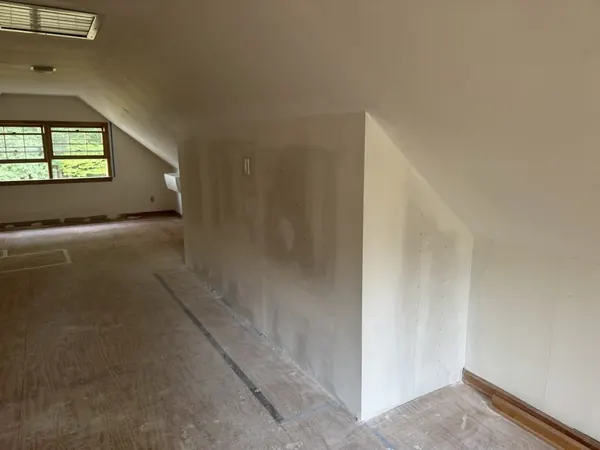
We framed a new attic knee wall, hung the drywall and finished it smooth, ready for paint.
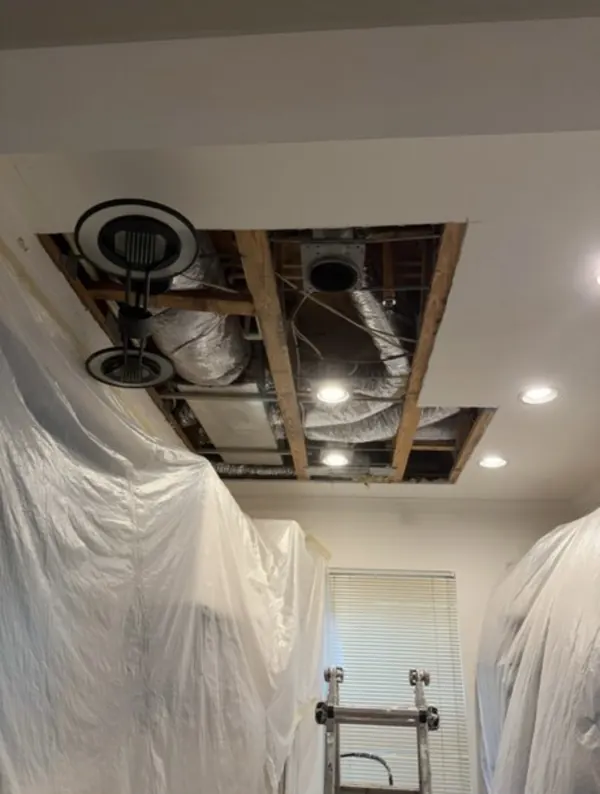
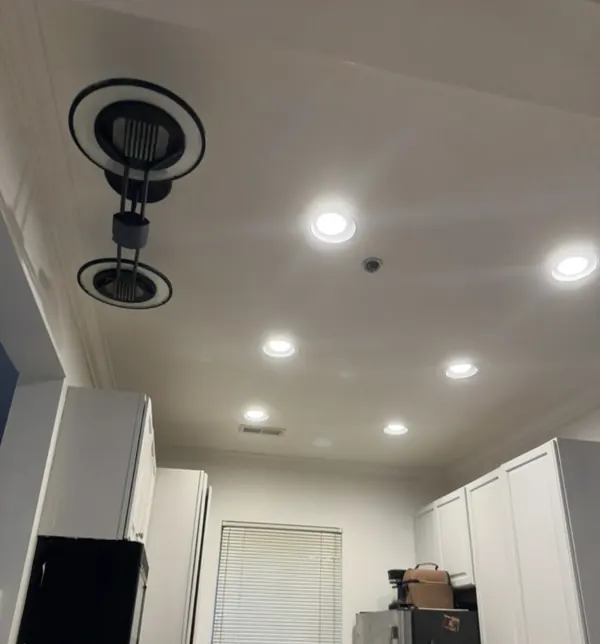
We sealed the kitchen in plastic to protect everything, rebuilt the opened ceiling, finished it and painted it.
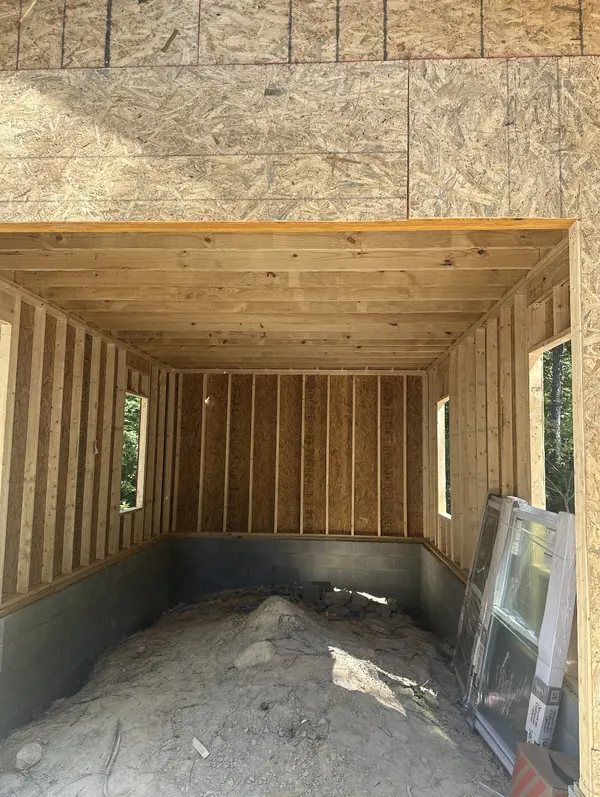
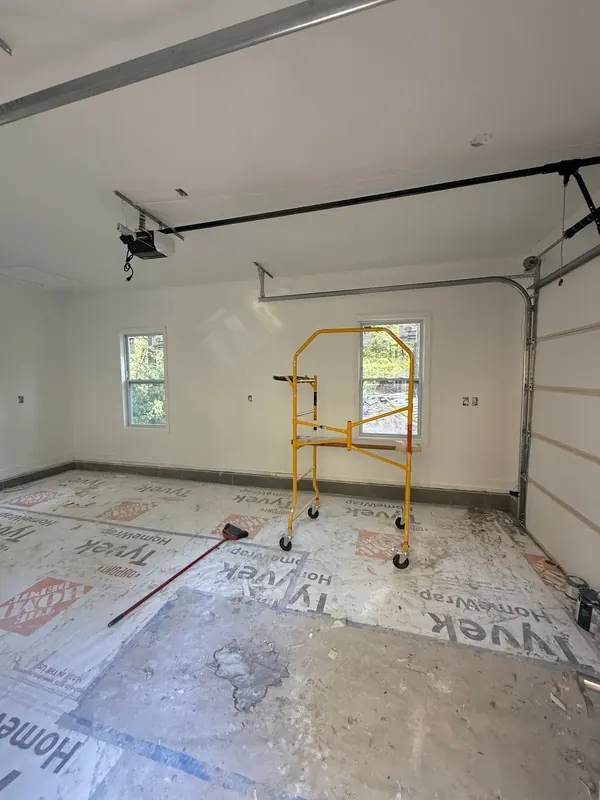
One-car garage for a local builder: drywall taped, finished, primed and painted, walls and ceiling, in 2 days.
We serve Charlotte and about 20 miles around, including Huntersville, Matthews, Mint Hill, Cornelius, Concord, Pineville and Fort Mill. See the full service area.
It blends best when we have your exact wall paint (the color code on the can or the store receipt). If you don't have it, we can repaint the whole wall so the finish is seamless.
It depends on the color. Some colors match better than others. We'll tell you up front whether a spot repair will blend or the full wall should be painted.
Small to medium patches are done the same day, painting included.
Yes. The leak has to be fixed first, and if you need a plumber we can recommend one. Then we replace the damaged drywall, finish it and paint it.
Both, any size: from a single patch to framing, hanging and finishing new walls.
Prices and details last updated .
Text a photo and we'll get back to you during business hours, 8 AM–8 PM every day.